Casablanca Wilderness Owner's Manual
Browse online or download Owner's Manual for Household fans Casablanca Wilderness. Casablanca Wilderness Owner`s manual [en] User Manual
- Page / 14
- Table of contents
- BOOKMARKS
Summary of Contents
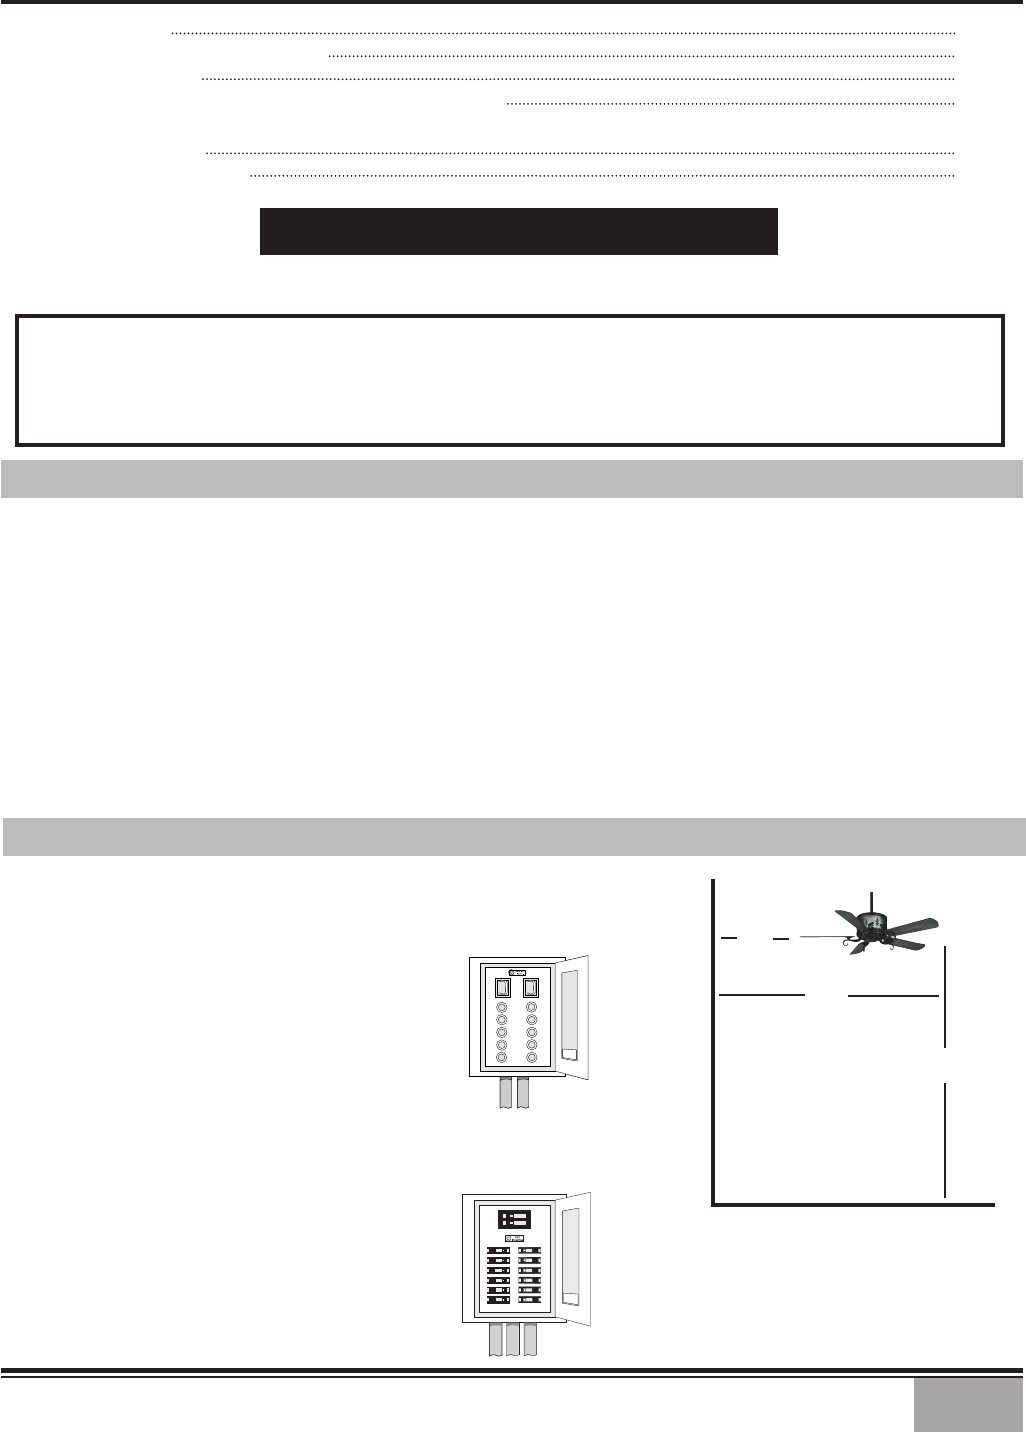
1FUSE BOX(REMOVE FUSE FOR THECIRCUIT YOU WILL BEWORKING ON)188470CONTENTSINTRODUCTION 1MOUNTING RECOMMENDATIONS 2FAN INSTALLATION 3OPTIONAL EXCL
10Step 18. Line up the two clearance holes in the light fixtures with the two threaded holes on the raised rim of the switch housing.Step 19. Using the
11Warning: To reduce the risk of electrical shock, this fan must be installed with an isolating wall control/switch.SCREW6-32 X 1”(2)SCREW6-32 X 3/8”(
12SEND SIGNAL LEDFan ControlTo start the fan. Press the selected speed button to run the fan at the desired speed.1=Low speed 2=Medium speed 3=
13Ve r s a •To u c h 2®Before Requesting Service: Please follow this troubleshooting guide before contacting your dealer for assistance.PROBLEMPOSSIBL
14PRODUCT SPECIFICATIONSModel Name: Wilderness™Model Number: 86UxxMDimensions: A =16" B = 17" C = 3" D = 11.8" E =5.6"
27′ MINIMUMPole LengthStandardStandard6”12”12”18”24”36”48”Ceiling Height8’8’ 6”9’9’ 6”10’11’ 12’ 13’ 14’ Suggested Extension Pole LengthsBLADES MUST B
3Wi l d e r n e s s™IMPORTANT SAFETY INFORMATION!BEFORE STARTING THE INSTALLATION OF YOUR CEILING FAN, INSTALL THE THREADED DOWNROD INTO THE MOTOR COU
4Installing a New Ceiling Fixture Outlet BoxIf you do not have an existing fixture located where you wish to place your Casablanca fan, an approv
5Wi l d e r n e s s™CANOPY LOCK WASHER (4)CANOPY SCREW (4)Step 3. Pass the lag screw through the center hole of the crosbar mounting bracket and screw
6WIRE NUTWHITE WIRES(2)GREEN WIRES(3)Step 6. Attach the fan wires to the ceil-ing fixture outlet box wiring by twisting the bare ends of the wires toge
7Wi l d e r n e s s™Step 10. To reach the blade holder mounting holes in the fan motor the switch housing cap must be removed. Take out the two 8-32 X
8Step 12. Using the blade holder screws(pack of 11) attach each blade/bladeholder assembly to the motor.Using the screwdriver, tighten securely by ha
9Wi l d e r n e s s™Step 16. Unpack light fixture and make sure everything is accounted for. Refer to the instruction sheet included with each fixture.
Related products and manuals for Household fans Casablanca Wilderness
 (18 pages)
© 2020, manymanuals.com. All rights reserved. | 0.816 s |
 Manymanuals.com
 Manymanuals.de
 Manymanuals.fr
 Manymanuals.it
 Manymanuals.pl
 Manymanuals.cz
 Manymanuals.es
 Manymanuals-pt.com
Comments to this Manuals